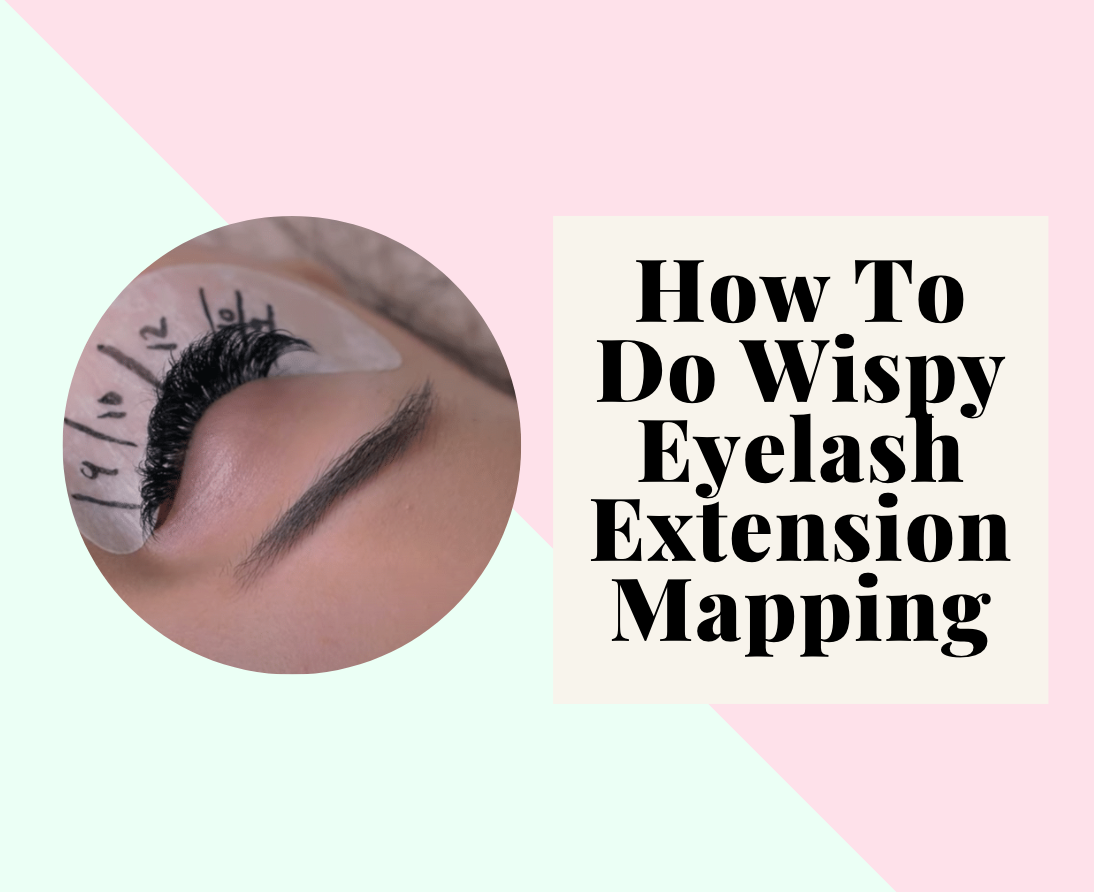
How To Do Wispy Eyelash Extension Mapping
Share
Nowadays, the trendiest and newest style you can get is wispy eyelash extensions (a.k.a staggered or Kim K lashes). If you are a lash artist, you definitely need to know what they are and understand the process of wispy eyelash extension mapping to meet the demand of your clientele.
As time goes by, lash extensions become more and more popular all around the world. As a result, different lashing styles and techniques start to emerge. For example, just about 5-6 years ago the only type of lash extensions you could get were classic lashes. Then Volume and Mega Volume came along and changed the game.
In this article, LivBay Lash tells you everything you need to know about this gorgeous lash style to help you understand how the wispy eyelash extension mapping works.
What Are Wispy Eyelash Extensions?
We are sure that you know how to do a classic lash look with 1:1 technique when a single lash extension is glued to one natural lash. If you have some skill and experience in the business, you should be able to create the Volume (a.k.a Russian) lashes, which are made by attaching fans of 3 to 8 lash extensions to each natural lash. Oh, and let’s not forget the Mega Volume may include fans of up to 20 extensions. Additionally, there are different lengths, diameters, and curls you need to use for each of these looks.
So what’s the deal with wispy lashes? The easiest way to describe it is to call it lashing freestyle because it combines versatile lashing techniques, lash types, and shapes. For the staggered eyelash extensions, lash artists use various lash lengths that gradually rise and fall across the eyes and create a spikey appearance. This is what makes wispy eyelash extension mapping a headache for most lash artists. How do you decide which length or approach to use in certain places to make it look even? We will answer this question for you!
Preparation Process & Tools
Before you start applying lashes, make sure you have everything prepared. For wispy lash extension mapping, you’ll need a pair of hydrogel eye pads, tape, and a marker that doesn’t require you to use too much pressure to draw. Some artists may skip eye pads and just place tape on the client’s under eyes. However, using pads is going to make your client feel more comfortable especially when you are literally drawing lines under their eyes.

When it comes to creating wispy lashes, proper isolation is extra important. So make sure you have a pair of your favorite straight or curvy isolators by your side. As for application tweezer, we recommend you to use the one that can be used both for 1:1 technique (sticking 1 extension to 1 natural lash) and for creating fans. After all, you may need to use all kinds of approaches for wispy eyelash extensions, so make sure your tools can keep up with it.
Tip From LivBay Lash - Given the fact that you are working super close to your client’s eyes, you need to choose the mapping marker very thoughtfully. First of all, make sure that it is safe to use near eyes. We recommend using an eyeliner marker with a super defined tip. This way you won’t have to worry about irritating your client’s eyes or skin.
Wispy Lash Extension Mapping
The cornerstone of drop-dead-gorgeous wispy eyelash extensions is mastering the mapping. To put it simply, mapping is a process of determining which lash goes where. This is a very customized process that is different for every single client so before you begin mapping for wispy lash extensions, make sure you go through your client’s natural lashes. This way you’ll be able to consider any special need they may have (for example a gap that needs to be filled with volume fans).

We recommend that you start by marking high points - the places where spikes are going to be. This way you’ll be able to visualize the look you are going for from the very beginning. If your client doesn’t have any specific requirements, we recommend that you don’t use the lashes of the same lengths for all the spikey points. For example, start with an 11-12mm for the first spike, then go for 13-14mm for the next one and peak with 16mm. The highest point can be either in the middle or at the outer corner of the eye. The first one will open up the eyes while the second one will make it look more winged. Which one you choose solely depends on the preference of the client and the shape of their eyes.
Once the peak-points are all planned out, move to the filling stage of wispy lash extension mapping. At that point, you need to decide which lash lengths will go in between the spikes. An ultimate way is to choose 1-2mm shorter lashes than you do for high points. If you are comfortable with your skills, you can play with different lengths to customize the set even more.
Tip From LivBay Lash - Wispy lash extension mapping is different depending on which lash style your client wants. It helps if they show the picture or bring a strip lash as an example. So don’t hesitate to ask your clients for visuals to be able to meet their expectations.
Wispy Lash Application Process
Once you’ve completed wispy eyelash extension mapping, it’s time to roll! At LivBay Lash, some of our artists prefer to follow the mapping process, meaning that they apply spikes first and then do the filling. This is actually a great approach, especially if you are not fully comfortable with wispy lashes yet. This way you are able to visualize how the final look is going to be way before you finish the job. C curl is the most common choice for high points of this lash style because it is the perfect middle ground between lean and curvy. Once the spikes are laid down, lightly mist your client’s eyes with a nano mister to help clear the adhesive. Then brush out the lashes with the clean lash wand to prepare the site for the filling stage.

If you plan to use volume fans in-between spikes, we recommend you to have premade fans handy. When you make your fans along the way, it requires a very fast hand and attention to detail - after all, you’re switching lengths all the time! So using premade mixed trays will save you a lot of time. You can also use C curl for filling or move on with D curl to bring in some drama. This stage is all about creating volume so make sure you glue extensions closer to the lash line to make the lashes look full from within. However, be careful not to touch your client’s skin.
Once you’re done, mist and brush the lashes once again so you are able to judge the final look. It is better if you use a dental mirror to check the appearance of the front so you don’t have to move too close to your client’s face.

Tip From LivBay Lash - After you’re finished, ask your client what they think about the final result or whether they’d change anything about it. If they want something to be different, go back and fix it, if possible. It will take some extra time but trust us, your client’s satisfaction is worth it.
Wispy Eyelash Extensions: Final Recommendations
No one knows better than us that learning wispy eyelash extension mapping is a bit of a headache. However, practice makes perfect so you need to work hard on your skills. Trust us, you’ll be able to map a wispy lash set without the need for drawing. Once that happens, you’ll be able to freestyle the gorgeous spikey lashes that are so highly valued by lashionistas all over the world.
Follow Us On Our Lashing Journey:
Youtube


58 comments
Excuse, that I can not participate now in discussion – it is very occupied. But I will return – I will necessarily write that I think on this question.
https://www.short4cams.com/columbiana-on-cam-3-thecamgirls247-com/ | https://www.short4cams.com/
Excuse for that I interfere … I understand this question. I invite to discussion. Write here or in PM.
https://www.host4cams.com/shy-girl-screwed-on-webcam-more-videos-on-yourdreamcamgirls-com/ | https://www.host4cams.com/
I am final, I am sorry, but this variant does not approach me.
https://japancasino-x.com/ |https://japancasino-x.com/